When it comes to decorating for festivities or holidays, I think things that sparkle make any setting look more chic and elegant. You can add that touch with metallic acrylics, gold plate spray paint, shimmery fabrics, and, of course, glitter.
I want to share with you how to make spider rings sparkle. You know those rings that you find at every halloween party, in your trick or treat bag now and even when we were kids.. They are a timeless classic.
By adding glitter to them, they instantly become a chic accessory for your party goers or sprinkle them on a centerpiece for added charm.
First, you need to gather these supplies. Some of which you may already have at home.

Spider Rings ( I got mine at Dollar Tree)
Glitter in black and/or silver and gold
scissors
glue
paper plate
small paint brush
small paper bag
cooling rack
newspaper
Get your area ready:
Lay newspaper out and place cooling rack on top.
Pour a small amount of glue on paper plate.
Pour glitter in paper bag. If using more than one color,
use 1 bag per color.

You are about to transform these from basic to bling!

I cut the center of the ring part open for adult
fingers to easily slide them on. If you are making these for
kids or for decorating only, then you can skip this part.

Brush glue to top of spider and cover all its body.
No need to get glue on underside or ring.
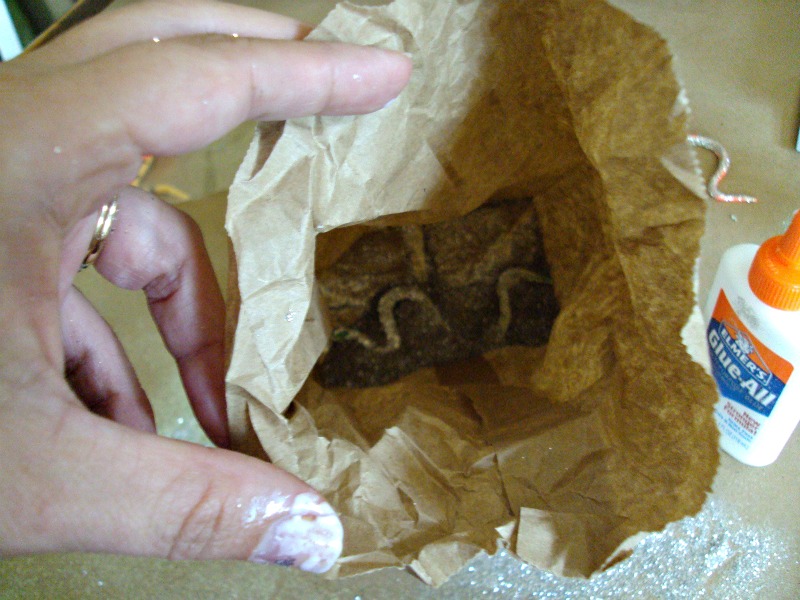
Place glued ring in paper bag, fold top closed, & shake.
(a snake is shown, but same process)

Remove from bag and place on cooling rack to dry.

Once dry, look at how it sparkles! How much more fun than the original.
Or you can decorate a tablescape with them. I placed them in a cloche on
a pedestal with some moss and a trapped rat.

Or sprinkle a vintage silver tray with them for party favors.
Here, you can see them in the different colors: black,
silver, & gold.


A vintage photo fix using Picnik.com gives it an eerie fee.

See, how you can take a dollar store find and make it look like
something more chic in just a few simple steps?
I did the same thing with some snakes I found at Walmart, too.
(The same process, anyway.)
The large ones are $.25!! Then, in the party supply section, I found
a bag of 8 little ones. So, mama can have her baby snakes, of course.
Here is how the looked before and after:


I liked this pink one with the balck glitter stripes.
I ended up covering the pink with silver, though.
It matched what I was going for better that way.


I placed the little ones on the napkin rings.


I was happy to use my vintage trays for my Halloween table. I will add some cobwebs, too.
I hope you enjoyed this tutorial and found it easy to follow.
Share your glittered found objects with me! I love to see other's work.
Happy Making!
-Pam
No comments:
Post a Comment
I love to hear your feedback!